Showing posts with label cookies. Show all posts

10.12.10

Nutella Pinwheel Cookies

 A small bite of awesome. With milk, bein sur.
And yes, those are pink, sparkly nails. 


One of the best things about this time of year is that I can bake and bake and bake and nobody is going to say anything about it. Because a) it's hard to complain when your mouth is full of food and b) of course I'm cooking! It's Christimas!

That said, I thought this year I'd occasionally practice some new cookies and such before the massive Bake-a-Thon that heralds the holiday. When I have to go to Target and stock up on those stupid-cute gift bags/boxes/tins, when I burn myself with melted chocolate at least twice, when I have to drink through a failed baking attempt (last year - gingerbread house, year before - a complicated yule log experiment that involved a mousse that involved a packet of gelatin, a first for me, year before before, gingerbread. it melted.) Anyway, I have a handle on gingerbread now. And I do not yet know what baking attempt will blow up in my face at, probably, an ungodly time of night.

Look forward to that post, I'm telling you.
Be glad you don't live with me?

I stumbled across this recipe at The Galley Gourmet and love love loved it. What's not to enjoy? Nutella? Delicious. In cookie form? Fantastic. Super easy? Even better!

This recipe is a good reason to put "rolling pin" on the list of things I want for my kitchen, but I'll get to that and, really, you can find ways around it. Luckily, I was visiting a friend and she had a rolling pin and LO these cookies were whipped up. The recipe is fantastically simple - I halved it to see if I liked it and it worked swimmingly. You might want to make the whole batch though - they go awful fast.

I'm giving the whole recipe, in it's original form, but I used salted butter rather than unsalted and just a pinch of salt additionally and was no worse for wear.

Nutella Pinwheel Cookies

- 8 oz butter
- 1 cup sugar
- 2 egg yolks (I used large, she had extra large, but things seemed fine)
- 2 TSP vanilla
- 2 1/3 cup flour
- 1/4 TSP salt (she calls for kosher)
- 1/2 cup Nutella, divided

Now, I did veer a bit from her instructions, but I'm giving you mine rather than hers. They are virtually identical and if you'd like to mix up the flour/salt before hand and then add later, that's fine. I just didn't bother.

You'll want to cream the butter and sugar together, which doesn't take long and is - as always - delicious because, well, it's butter and sugar. Hard to fail. Add in the egg yolks and the vanilla and then mix up for a minute, until it's combined. Slowly add the flour and salt, until it forms a soft dough.

Transfer the dough to a lightly floured surface and separate into two halves. Form each half into a square, wrap up in plastic wrap, and put it in the fridge for about 30 minutes.

Now. Amuse yourself somehow. We gossiped and watched some Always Sunny in Philadelphia.

Take out one of the squares of dough and place on a lightly floured surface. Have the top covered in the plastic wrap and proceed to roll the dough out into a rectangle about a quarter inch thick. Remove the plastic wrap and spread half of the nutella over it, evenly. Leave about a 1/4 inch on the edges. Roll up the nutella spread cookie dough (god, those are good words to type) into a log and wrap up with plastic wrap (or parchment paper), then pop it into the freezer for about fifteen minutes.

Repeat with the second square of dough.

Preheat the oven to 350 F. You can either butter your cookie sheet, place some baking parchment down on it, place some foil on it, or use a sil-pat. I used a sil-pat. Consequently, I now really want a sil-pat as well as a rolling pin. Go figure.
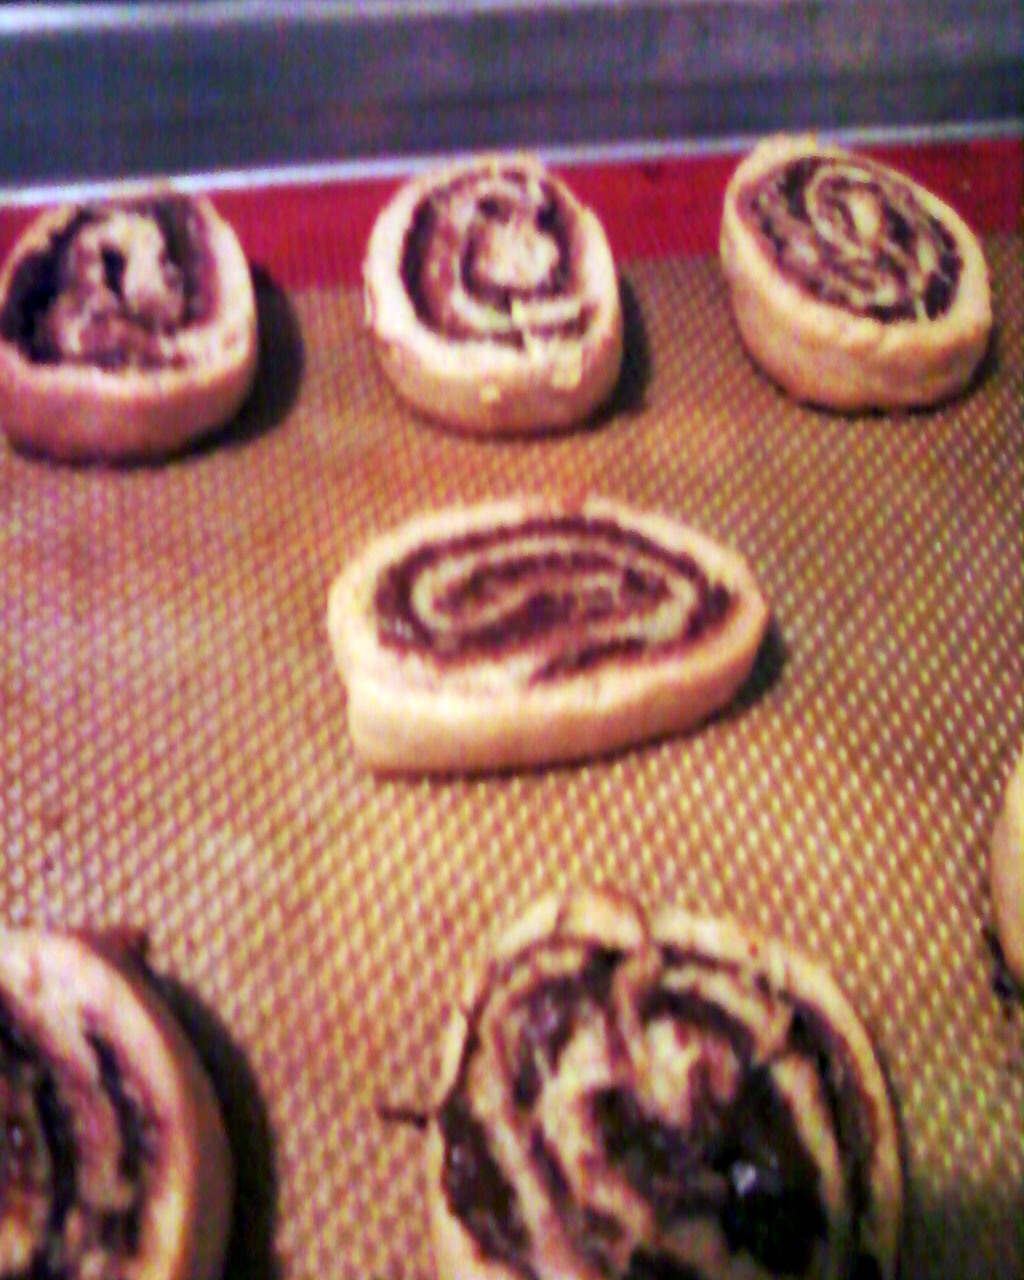
 Go ahead. Eat one already. 
You deserve it.

Now. Remove a log of cookie dough from the freezer and unwrap it. Slice into 1/3" slices and place on the baking sheet, an inch or so apart. Bake for 12 to 15 minutes or until the cookies are olden around the edges. Cool on a wire rack and store in an air-tight container for up to a week.

Or eat in one sitting, either way. Delicious!

This recipe will make four dozen cookies, so, share and share alike!

20.6.10

Banana Bread + Cookies = AWESOME

 !BEHOLD!

You know when you've got those bananas that you really meant to eat with, like, cereal (oh, wait, I virtually never buy cereal) or oatmeal that you've put cocoa powder in with sugar (nommmm) or greek yogurt (double nommm)? And then you forget or you work a lot or something and next thing you know, they are certainly not really eating material and more baking material? So you stick them in the freezer and then forget and then, one day, when you have next to nothing to bake with...you take them out, stick them in a bowl so as they thaw and get so gross looking and suddenly realize you have nothing to bake with?

Yes, I knew you would.

I did this, clearly, but it went very well because as it worked out, I wanted to try my hand at banana bread cookies. Originally planned as banana cookies, but this is what happened and it was damn good. You, too, can make these utterly delicious things that your roommates and friends will devour with the utmost glee.

You will need:

- two totally way too ripe bananas
- one cup flour
- half cup sugar
- 1.5 teaspoons vanilla
- teaspoon baking powder
- a few shakes of salt
- one stick butter, softened
- one tablespoon cocoa powder

Mix the sugar and butter together, add vanilla and mix until completely mixed together. Mix in bananas and stir until well combined.  Blend in cocoa powder, baking powder, salt, and flour. You may need more flour/sugar.

Grease a baking sheet and put a spoonful of the dough just like, what, an inch apart? Bake for about ten minutes at 375 F. Remove, put on cooling sheet, burn your mouth on the first one.

Enjoy!

20.4.10

C is for Cookie, that's good enough for me.

I could probably eat all of these just like this. 
Thankfully, I have more sense than this. 
Or, um, maybe I just ate too much cookie dough... 

There are probably one millionty billionty chocolate chip cookie recipes out there, making up a not-as-large-as-you'd-think chunk of the over all zillionty types of cookies that exist. Say what you will for the humble cookie, my favorite probably is the chocolate chip and so that is what I have been making lately. I made the traditional Toll House recipe. I made something that very closely resembles that recipe. I made the standard chocolate chip from my 1,001 cookie recipe cookbook.

My aunt got me this cookbook for Christmas this year. This thing could seriously keep a girl busy and, well, I do like to read it. I've even got a short list of things that I was especially "oh, gotta make that" about although it's slow to grow because I can't exactly write most of the book in. (or...can I?) I like cookies. Who doesn't?

Good thing I worked out so much this week, wow. Cookies.

Anyway. The recipe I'm giving you is not, by any means, the only one out there. It's not even the best one out there. But it is pretty tasty and it's what is in the picture, above. My advice? Make lots of them, figure out your favorite recipe, and repeat with a new style of cookie. Stop whenever you eat one and think "yep, okay, this is it, success!" because what matters here is your enjoyment of said cookie.

Chocolate Chip Cookies

- 1 cup flour
- 1 1/2 teaspoons baking powder
-  dash of salt
- 1 stick (half cup) of butter, softened
- 1/4 cup sugar, plus two tablespoons
- 1 egg
- 1 1/2 teaspoons vanilla
- 1/2 teaspoon cinnamon (or try another spice of your choice!) (optional)
- 6 oz chocolate chips (or semi sweet chocolate, chopped) (or, um, what is left in the bag of chocolate chips that you've been eating for a few days....)

Preheat the oven to 375 F and butter your cookie sheet.

Mix the butter and sugar together until combined, then add in the egg and vanilla and combine again. Mix in the flour, salt, cinnamon, and the baking soda, then stir up nicely. Add chocolate. Mix mix mix. Taste, determine what is missing (if anything) and play with to your heart's content.

Place a spoonful of the dough on the cookie sheet and lightly press down a bit on the top. Repeat, keeping a little distance between the cookies (about an inch). Bake for about seven to ten minutes or until golden brown. Place on cooling rack.

When you don't think you'll burn your mouth, shove a cookie in it and drink delicious milk.

This is also a fabulous breakfast with coffee. By "fabulous" I mean "delicious", but there are healthier choices.

8.1.10

Gingerbead House: Christmas with The Daring Bakers

The December 2009 Daring Bakers’ challenge was brought to you by Anna of Very Small Anna and Y of Lemonpi. They chose to challenge Daring Bakers’ everywhere to bake and assemble a gingerbread house from scratch. They chose recipes from Good Housekeeping and from The Great Scandinavian Baking Book as the challenge recipes.

And I, of course, posted it late. Not only that, but the photos are on a roommate's camera, which, of course, I have not uploaded. No, do not weep for me, just listen to my tale.

I was excited. I confess I wanted to make something I was going to call either "Gingerbread Crack House" or "The Crazy Cat Lady Lives Here". I bought tiny gummi bears (all the better to resemble a collection of bottles with!) and real gummi bears and sour things and Pez and all the things I can't eat. But others can! And that was fine with me.

Then I started making gingerbread. I used Anna's recipe, which she got from Good Housekeeping. I picked thise one because I really like molassases. As I proved later that same night by making molassases cookies.

2 1/2 cups (500g) packed dark brown sugar
1 1/2 cups (360mL) heavy cream or whipping cream
1 1/4 cups (425g) molasses
9 1/2 cups (1663g) all-purpose flour
2 tablespoon(s) baking soda
1 tablespoon(s) ground ginger

1. In very large bowl, with wire whisk (or with an electric mixer), beat brown sugar, cream, and molasses until sugar lumps dissolve and mixture is smooth. In medium bowl, combine flour, baking soda, and ginger. With spoon, stir flour mixture into cream mixture in 3 additions until dough is too stiff to stir, then knead with hands until flour is incorporated and dough is smooth.

2. Divide dough into 4 equal portions; flatten each into a disk to speed chilling. Wrap each disk well with plastic wrap and refrigerate at least 4 hours or overnight, until dough is firm enough to roll.
3. Grease and flour large cookie sheets (17-inch by 14-inch/43x36cm)
4. Roll out dough, 1 disk at a time on each cookie sheet to about 3/16-inch thickness. (Placing 3/16-inch dowels or rulers on either side of dough to use as a guide will help roll dough to uniform thickness.)
5. Trim excess dough from cookie sheet; wrap and reserve in refrigerator. Chill rolled dough on cookie sheet in refrigerator or freezer at least 10 minutes or until firm enough to cut easily.
6. Preheat oven to 300 degrees F (149C)
7. Use chilled rolled dough, floured poster board patterns, and sharp paring knife to cut all house pieces on cookie sheet, making sure to leave at least 1 1/4 inches between pieces because dough will expand slightly during baking. Wrap and reserve trimmings in refrigerator. Combine and use trimmings as necessary to complete house and other decorative pieces. Cut and bake large pieces and small pieces separately.
8. Chill for 10 minutes before baking if the dough seems really soft after you cut it. This will discourage too much spreading/warping of the shapes you cut.
9. Bake 25 to 30 minutes, until pieces are firm to the touch. Do not overbake; pieces will be too crisp to trim to proper size.
10. Remove cookie sheet from oven. While house pieces are still warm, place poster-board patterns on top and use them as guides to trim shapes to match if necessary. Cool pieces completely before attempting to assemble the house.
I then attached the (shoddily but still tasty) pieces of my house together using a simple syrup.
Which I made simply by melting down some sugar and hoping to god that I didn't burn myself, which ended up working out, as I did not!
Then came the decorating.
I confess, I had little time to do any decorating. In fact. I left it to my roommates. If I had, I would have used this recipe for royal icing, also from the challenge.

Royal Icing:
1 large egg white
3 cups (330g) powdered sugar
1 teaspoon white vinegar
1 teaspoon almond extract
Beat all ingredients until smooth, adding the powdered sugar gradually to get the desired consistency. Pipe on pieces and allow to dry before assembling. If you aren't using it all at once you can keep it in a small bowl, loosely covered with a damp towel for a few hours until ready to use. You may have to beat it slightly to get it an even consistency if the top sets up a bit. Piped on the house, this will set up hard over time.
...I'm sure you see where this is going.
Non-complete. Enjoyed! Cheered over, even, if a little mocked. Deservedly mocked. At maybe more than a little frequency.
I take heart in that my house was constructed, at least, and then abandoned like so many projects are at times. I'll think of it as just the Chicago way to build things. Slowly, oh so slowly.
Also: take heart, this was really tasty.

11.2.09

Belated Daringness

(please, ignore how giant my hand is here. i swear i am not a beast.)

Ach, like I said, things have been insane and really - they just aren't totally getting better. Still, I've got my Jan DB challenge pictures and things that I would finally like to post. I know I'm terribly late, but I'm trying to get all of this sorted. That said!

The January challenge was from Karen at Bake My Day! and Zorra at 1x umruhren bitte - tuiles! They asked us to make these delightfully light (get it?) cookies from one of the offered recipes, shape it, and pair it with something light. I had all of the ingredients for the cookies and (even more pleasing) happened to have all of the things needed for what I wanted to pair these tasty little things with.

I chose the recipe from Angelique Schmeinck's The Chocolate Book, although I omitted the chocolate element and kept it vanilla. We (here, this means 'myself, after talking to my cat') decided that none of us (my roommate, myself, and any guests who would maybe be around) in a very "chocolate mood". I blame the fact that I had been od'ing of plenty of chocolate. That and, well, all the cocoa powder I had on hand was meant for things like hot chocolate. I don't know if any of you remember, but goodness gracious! Chicago was a frozen hell last month!

At any rate. The recipe was!

Yields: 20 small butterflies/6 large (butterflies were just an example) Preparation time batter 10 minutes, waiting time 30 minutes, baking time: 5-10 minutes per batch ¼ cup softened butter ½ cup sifted confectioner’s sugar
A dash of vanilla
2 large egg whites (slightly whisked with a fork) 1/2 cup sifted all purpose flour (1 table spoon cocoa powder/or food coloring of choice) Butter/spray to grease baking sheet
Now. Directly copied from the original recipe is the technique. It goes as follows:

"Oven: 180C / 350F

Using a hand whisk or a stand mixer fitted with the paddle (low speed) and cream butter, sugar and vanilla to a paste. Keep stirring while you gradually add the egg whites. Continue to add the flour in small batches and stir to achieve a homogeneous and smooth batter/paste. Be careful to not overmix.
Cover the bowl with plastic wrap and chill in the fridge for at least 30 minutes to firm up. (This batter will keep in the fridge for up to a week, take it out 30 minutes before you plan to use it).
Line a baking sheet with parchment paper or grease with either butter/spray and chill in the fridge for at least 15 minutes. This will help spread the batter more easily if using a stencil/cardboard template such as the butterfly. Press the stencil on the bakingsheet and use an off sided spatula to spread batter. Leave some room in between your shapes. Mix a small part of the batter with the cocoa and a few drops of warm water until evenly colored. Use this colored batter in a paper piping bag and proceed to pipe decorations on the wings and body of the butterfly.
Bake butterflies in a preheated oven (180C/350F) for about 5-10 minutes or until the edges turn golden brown. Immediately release from bakingsheet and proceed to shape/bend the cookies in the desired shape. These cookies have to be shaped when still warm, you might want to bake a small amount at a time or maybe put them in the oven to warm them up again. (Haven’t tried that).
Or: place a bakingsheet toward the front of the warm oven, leaving the door half open. The warmth will keep the cookies malleable.
If you don’t want to do stencil shapes, you might want to transfer the batter into a piping bag fitted with a small plain tip. Pipe the desired shapes and bake. Shape immediately after baking using for instance a rolling pin, a broom handle, cups, cones…."


-

See? That doesn't sound anything like me. At any rate. I did this and I think maybe my batter was a pinch thinner than it was meant to be? Or I did something a little off (very likely, it was leaving the cookie sheet on the oven as it pre-heated) but regardless, I was able to get most of the cookies pretty thin. It was simple to make and I used a few different sized cups (a POM glass, an espresso cup, etc) to help shape my cookies.

I also made a light cream cheese sort of "fruit dip"/frosting - and when I say light, I'm not talking calories. My roommate said it reminded her of a buttercream she loves from a bakery in Evanston, but since I've no idea where said bakery is - I can't answer to it. However. My recipie is as follows.

- half a packet of cream cheese
- a knob of butter
- a dash of vanilla
- not even a whole egg yolk, though maybe half.
- powdered sugar. maybe half a cup? I'm just not sure.

First I whipped the cream cheese and butter together, then the powedered sugar and some vanilla and continued to whip until I decided to add in a little yolk. I whipped it until it was smooth and delicious. You should be sure to taste it and make certain you like the taste - it may need more sugar. Maybe you listened to your parents when they told you not to eat uncooked egg? That's okay, you don't have to add any egg. I'm not going to judge you.

When the cookies are cooled, spread this onto them. I then topped it with cut up kiwi. See, I love kiwi. I meant to involve some banana as well...but I sort of ate the banana before I got a chance.

I'm not sorry. It was delicious. Potassium, man. It's awesome. And so is kiwi.

Don't like kiwi? You'll be pleased to know this is delicious with virtually any and every delicious fruit. Perhaps even non-delicious fruit.

It was pretty nice, to sit hide in my apartment on a frozen weekend and make this. And I'm sorry to have posted so late, but well. Such is the way.